
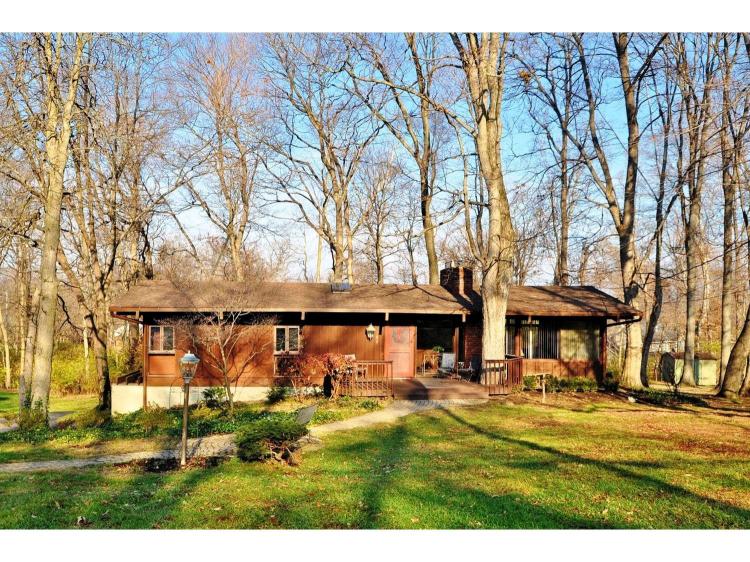
One of the first things when we saw the Lakeman Treehouse for the first time, was that it needed a stronger curb appeal. In all actuality we almost didn’t look at the listing photos because it just blended into the wooded landscape too much. The same brown stain on the exterior and beams did not highlight any of the unique architectural details of the house that we fell in love with. Through many deep family discussions, as only visual creatives can do, and a fair amount of research on whether to use paint or stain, we went the stain route and determined our colors.
For brand, we determined that Benjamin Moore Arbor Coat stain was our best option for preservation. For color, we settled on a base gray tone for the house and the beams would be a very dark gray or black. Next came the laborious task of testing color and stain opacity. Through many different small cans or colors we settled on Amherst Gray solid stain for the body of the house and Black solid stain for the beams and window surrounds. We were hoping to be able to use a semi-solid opacity, but we decided to go with a solid formula because the brown stain on the house was so opaque and the only way we could get the color we desired we would have needed to strip the entire house.


As we progressed with staining the exterior, we had the sudden realization that our house was a bit like an “inside-out house”: meaning that since the beams go through the windows like so many other Mid-Century Modern homes, the color of the posts and beams should be the same on the inside as they are on the outside. It wasn’t truly a realization, we knew this all along, however it became more apparent as we saw the inside not matching the outside.

The process has been very laborious because the house had not been stained in decades and needed a great deal of prep work before any staining could start. In fact the prep work, has taken most of the time on this project. Each beam and post outside and in has been looked over for cracks and holes, and then were filled with Elmer’s Brand Stainable wood putty or All Purpose Bondo Putty. Holes and cracks in the cedar batten board siding have also been filled with wood putty and/or Bondo. Throughout the years, the batten siding has become extremely blistered from the sun. Again, for proper stain adherence, all the blistering was sanded/ground down to create a smooth surface to stain. From a previous home renovation, we found a very useful tool to remove loose paint from exteriors called the Wagner Painter Eater along with 60 grit sand paper attached to an orbital sander. These two tools combined with patience seems to get all the blistering stain off. For each exterior wall this can be days of work.
Once all the walls, posts and beams and walls are prepped, they are stained with 2 coats of stain. The photos of the house in this post are the progress over the last year. Just one section around the garage is left on the outside and about 1/3 of the inside is done.


Note: Our blog is a labor of love, however in an effort to help fund the hosting MidModFamily.com is a participant in the Amazon Services LLC Associates Program, an affiliate advertising program designed to provide a means for us to earn fees by linking to Amazon.com and affiliated sites.
